-
Tables
-
Flooring
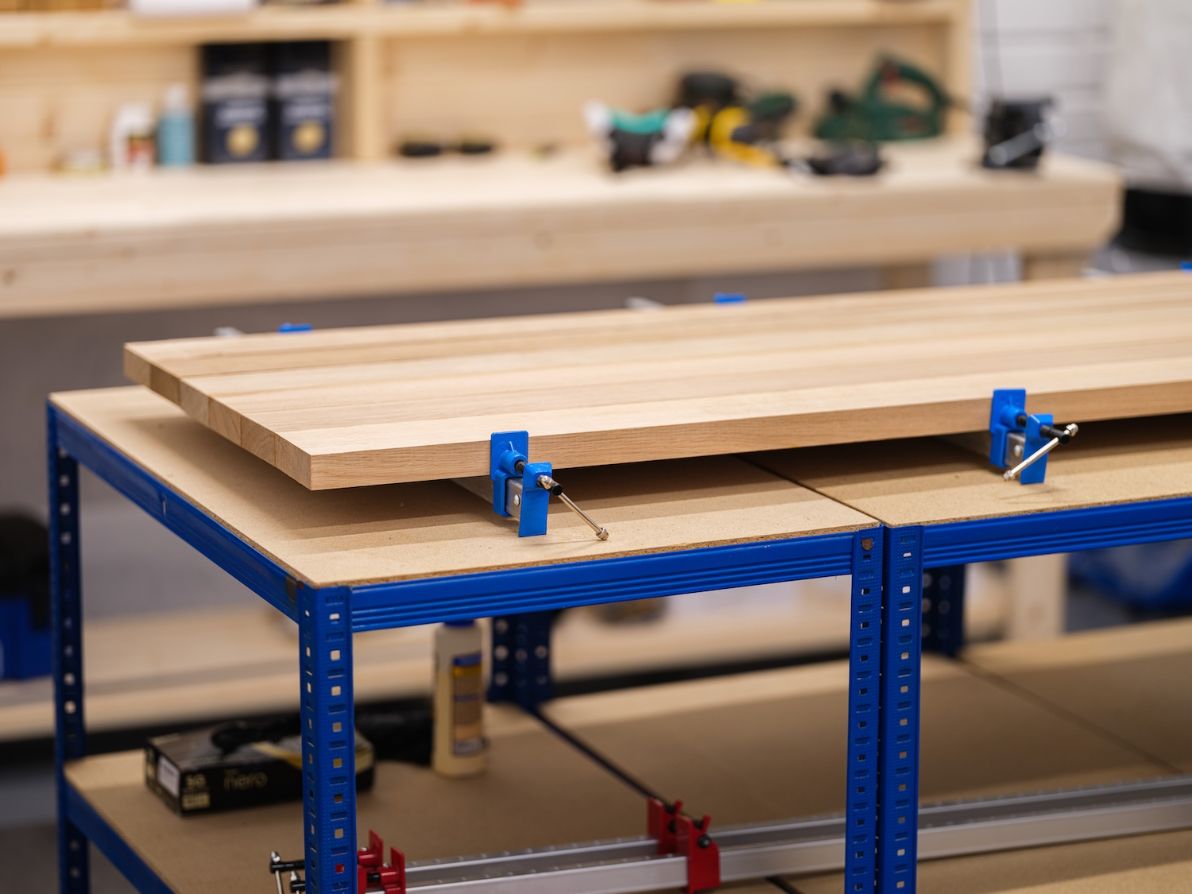
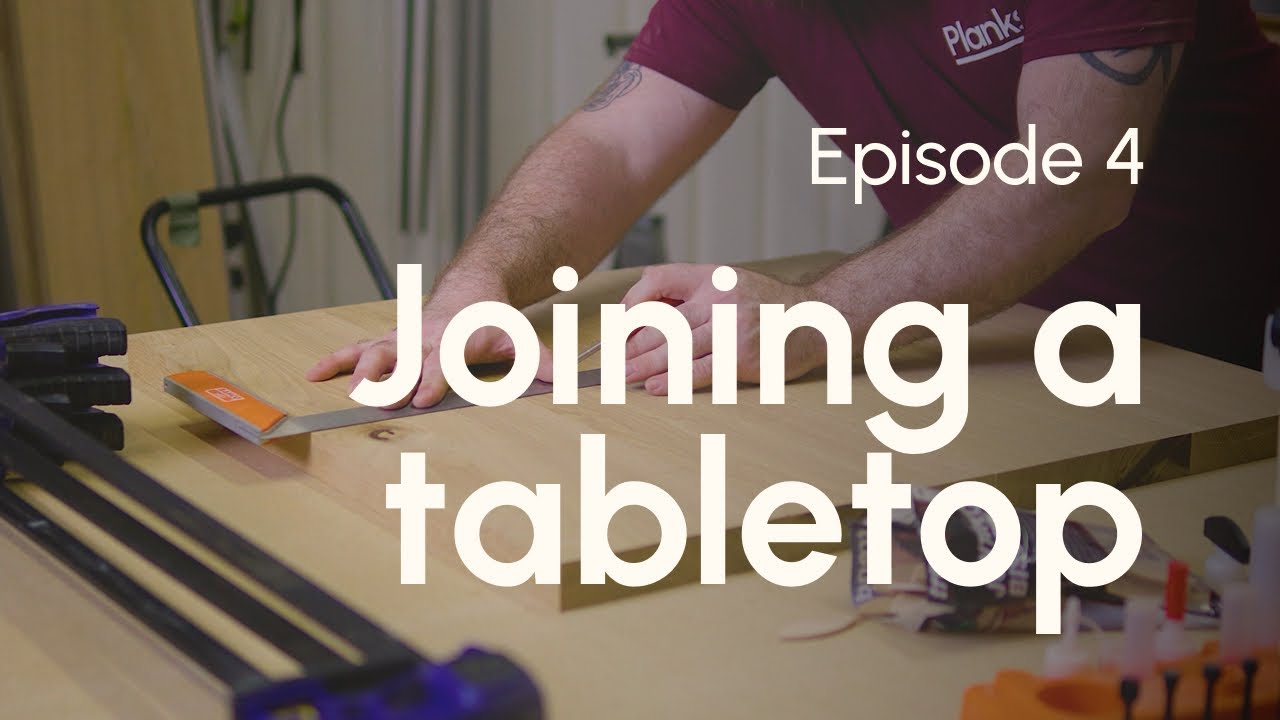
Building your own tabletop can be a rewarding project, and with simple glue joint joinery, it’s accessible even for beginners. Here’s a step-by-step guide to building a sturdy, beautiful tabletop using only wood, glue, and basic tools.
And that’s it! You now have a beautiful, hand-crafted tabletop ready for its legs or base. With simple glue joint joinery, you can create a sturdy tabletop that will last for years, adding a personal touch to your space.

We exclusively stock solid hardwoods. Hardwoods are the most durable woods for use in the home, but are the hardest to buy on the high street.
Explore our timber selection here →
All our planks of wood are Kiln Dried and Planed All Round (PAR). This means every piece has a moisture content of 8-12%, so they’re not prone to movement or cracking. They’re planed for a flat and smooth surface. Then cut to your exact size dimensions and square edged, ready for joinery or treatment.
As all planks are Kiln Dried and Planed All Round (PAR), they are designed for internal use or external use. Unlike air dried or green wood, which isn’t dried to a low enough moisture content to ensure it doesn’t move in the ambient temperature of our homes, Kiln Dried is ready for use.
Whether you’re looking for planks to make shelves, perform glue joint joinery or even a chopping board, our boards are ready for use.
Yes. All boards are suitable for exterior use. We’d recommend purchasing a protective treatment, such as danish oil or a strong varnish, which has UV filtering to help protect the wood discolouring from the elements.
We deliver to all UK postcodes.
We are based in South London, UK, and dispatch most orders via a third party courier (UPS). Standard delivery is free on orders over £200, or £12 for orders under.
If your order has arrived damaged or defected, we will cover the cost for you to return the item to us for a replacement or refund.
Unfortunately, as every order is cut-to-size and made custom to requirements, we cannot accept returns.
We don’t currently have trade accounts, as Planks is designed with the DIYer in mind. However, if you’d like to order frequently at higher volumes, get in touch at hello@getplanks.co.uk with your requirements and we’ll see what we can do to help you.
You can contract us using the live chat on the website in the bottom right of your screen. We’ll get back to you within 24 working hours. Alternatively, drop us an email at hello@getplanks.co.uk.