-
Tables
-
Flooring

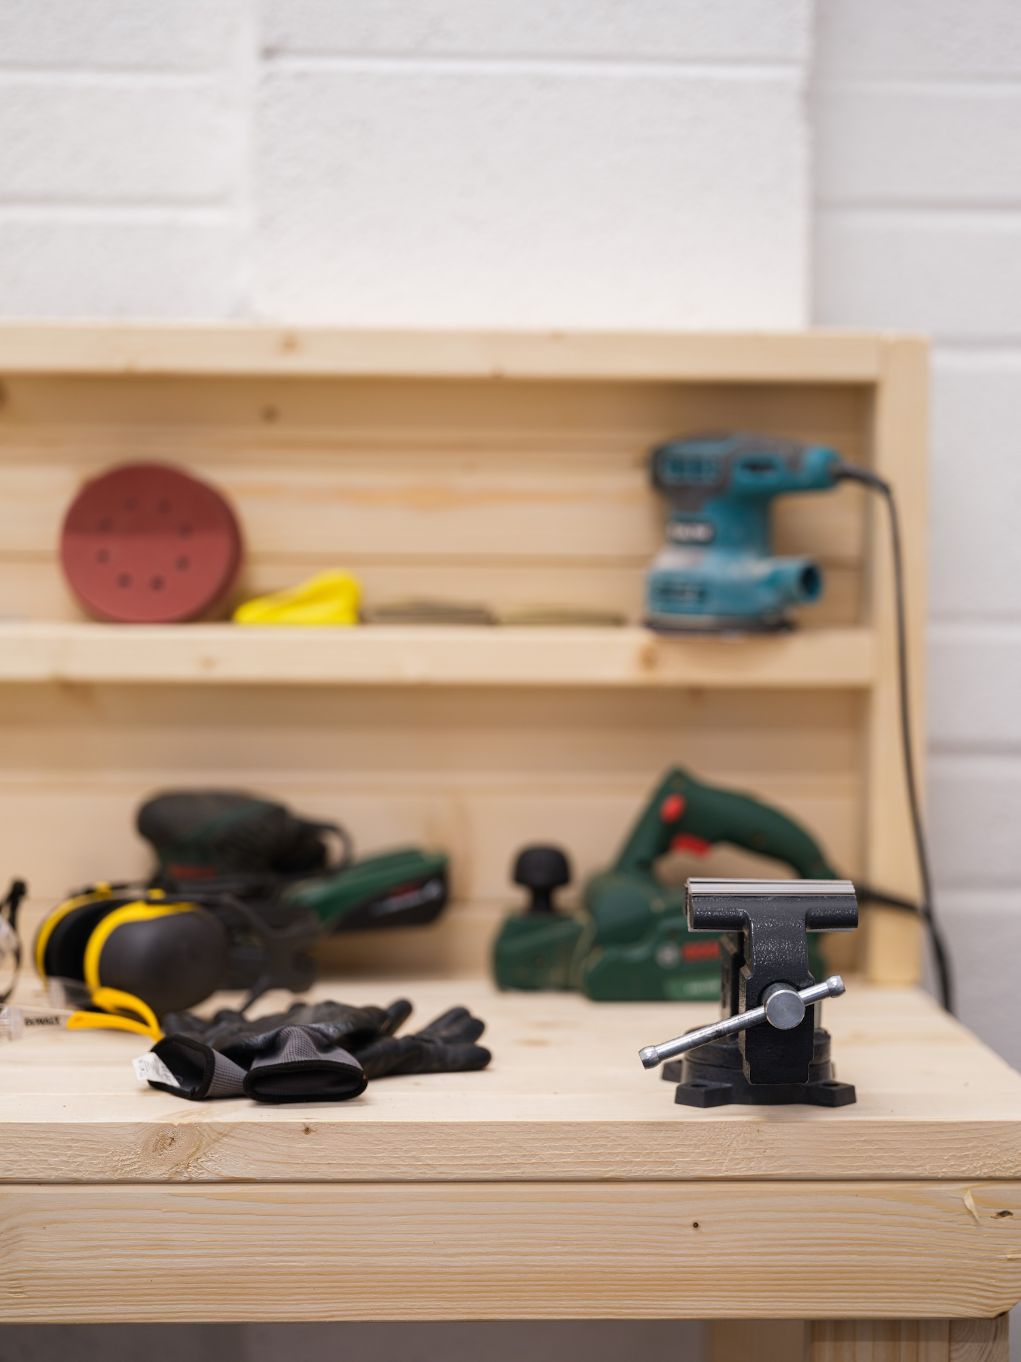
Sanding wood is an essential step in many woodworking and DIY projects. It’s not just about smoothing rough surfaces; it also helps the wood absorb finishes evenly, enhancing its natural beauty. Proper sanding takes patience and the right technique to achieve a professional-looking result. Here are three top tips to help you sand wood properly and get a flawless finish every time.
Choosing the right grit of sandpaper is crucial to achieving the desired finish on your wood. Sandpaper is graded by grit size, with lower numbers being coarser and higher numbers being finer.
One of the most fundamental sanding tips is to always sand with the grain of the wood. The grain refers to the natural lines and fibres that run through the wood. Sanding against the grain can leave cross-grain scratches, which are difficult to remove and become more visible once a finish is applied.
The final step to achieving a polished surface is to finish with a fine grit and thoroughly clean the wood. Fine grits (220 or 320) are ideal for this final pass, creating a smooth, polished surface ready for staining or sealing.
Sanding may seem simple, but doing it properly can make all the difference in the final look and feel of your woodwork. By starting with the right grit, sanding with the grain, and cleaning up thoroughly, you’ll set a solid foundation for a beautiful, long-lasting finish. Sanding correctly isn’t just about aesthetics—it ensures that finishes and treatments adhere better, protecting and enhancing the wood for years to come.


We exclusively stock solid hardwoods. Hardwoods are the most durable woods for use in the home, but are the hardest to buy on the high street.
Explore our timber selection here →
All our planks of wood are Kiln Dried and Planed All Round (PAR). This means every piece has a moisture content of 8-12%, so they’re not prone to movement or cracking. They’re planed for a flat and smooth surface. Then cut to your exact size dimensions and square edged, ready for joinery or treatment.
As all planks are Kiln Dried and Planed All Round (PAR), they are designed for internal use or external use. Unlike air dried or green wood, which isn’t dried to a low enough moisture content to ensure it doesn’t move in the ambient temperature of our homes, Kiln Dried is ready for use.
Whether you’re looking for planks to make shelves, perform glue joint joinery or even a chopping board, our boards are ready for use.
Yes. All boards are suitable for exterior use. We’d recommend purchasing a protective treatment, such as danish oil or a strong varnish, which has UV filtering to help protect the wood discolouring from the elements.
We deliver to all UK postcodes.
We are based in South London, UK, and dispatch most orders via a third party courier (UPS). Standard delivery is free on orders over £200, or £12 for orders under.
If your order has arrived damaged or defected, we will cover the cost for you to return the item to us for a replacement or refund.
Unfortunately, as every order is cut-to-size and made custom to requirements, we cannot accept returns.
We don’t currently have trade accounts, as Planks is designed with the DIYer in mind. However, if you’d like to order frequently at higher volumes, get in touch at hello@getplanks.co.uk with your requirements and we’ll see what we can do to help you.
You can contract us using the live chat on the website in the bottom right of your screen. We’ll get back to you within 24 working hours. Alternatively, drop us an email at hello@getplanks.co.uk.